R100
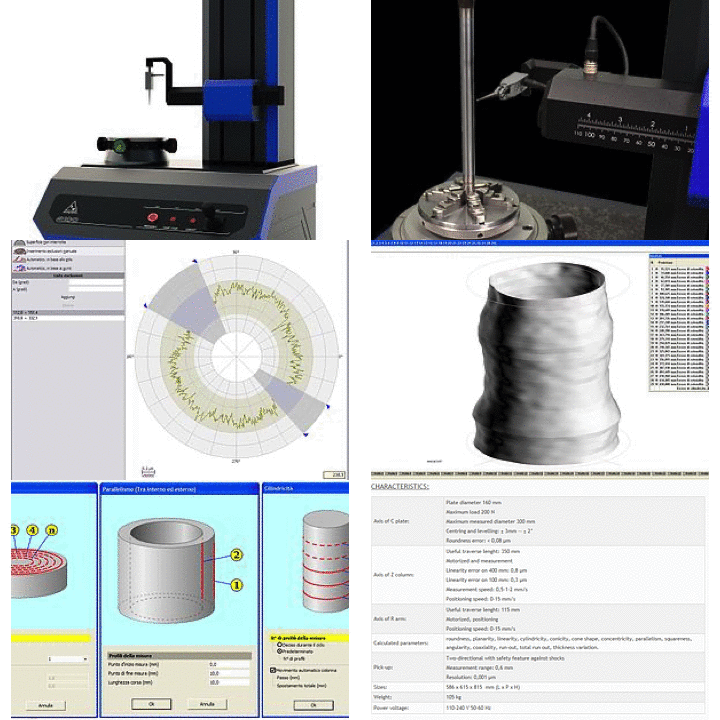
R100 roundness tester, based on an ''all in one'' logic, is immediately operative with just a few operations, and allows to characterise all circular geometries, also complex ones, present on a piece.
The device is matched to Circom software that was conceived to be extremely user-friendly and easy to use, thus allowing to train an operator within a short period of time, reducing training and testing costs.
The software allows the analysis of the following geometric tolerances: roundness, planarity, linearity, cylindricity, conicity, cone shape, concentricity, parallelism, squareness, angularity, coaxiality, run-ou, total run out, thickness variation.
For complex surfaces where gaps are present, Circom is able to eliminate them automatically or the operator can intervene manually, removing inconsistent profile sections.
Integrative packages can be added to the basic application, such as for example harmonic analysis that, through FFT algorithm, allows to analyse each single sinusoidal component of the measured profile, essential with regards to bearings.
R250
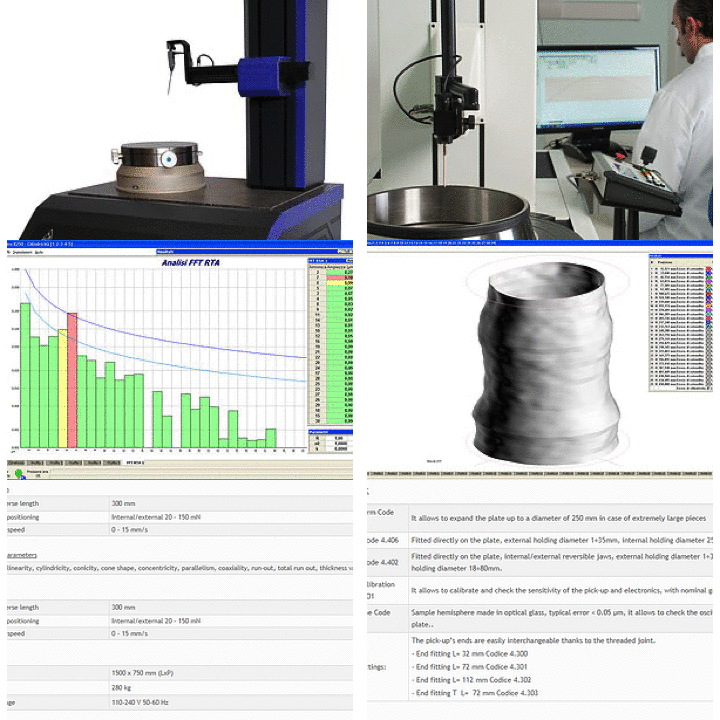
R250 roundness tester was conceived from the need to characterise pieces with circular and even complex geometries with utmost accuracy, and it is the ideal instrument to satisfy multiple measurement needs in the mechanical, motor, aerospace and machine manufacturing industries.
Thanks to its solid structure consisting of a base made in diabase and pneumostatically supported plate, it can accurately measure pieces of also considerable weight.
The device is matched to Circom software that was conceived to be extremely user-friendly and easy to use, thus allowing to train an operator within a short period of time, reducing training and testing costs.
The software allows to analyse the following geometric tolerances: roundness, linearity, cylindricity, conicity, cone shape, concentricity, parallelism, coaxiality, run out, total run out, thickness variation. For complex surfaces where gaps are present, Circom is able to eliminate them automatically or the operator can intervene manually, removing inconsistent profile sections.
Integrative packages can be added to the basic application, such as for example harmonic analysis that, through FFT algorithm, allows to analyse each single sinusoidal component of the measured profile, essential with regards to bearings.
R300
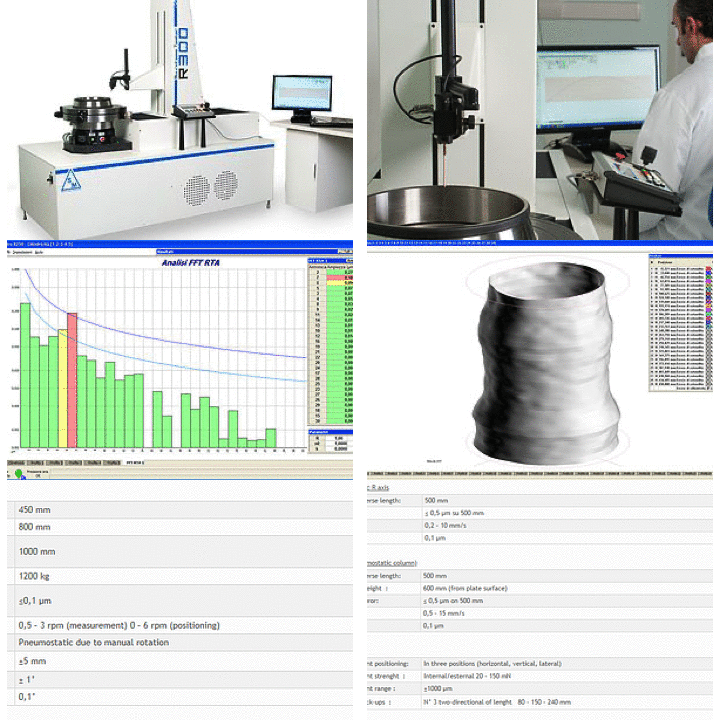
R300 roundness tester is one of the best devices worldwide for the characterization of surfaces, born from thirty years of experience boasted by SM in this field, it was specifically designed to measure bulky and heavy pieces, with utmost accuracy.
R300 features 3, pneumostatically supported, metrological measurement and positioning axes that ensure fluent movements without frictions and remarkable sturdiness of the entire system.
The main application of R300 consists in the characterization of large size bearings, where all those essential characteristics for the final quality of the product must be determined, among which roundness and race angles, which are measured by following the piece's profile with more axes working at the same time, thus generating a considerable number of measurements.
R500
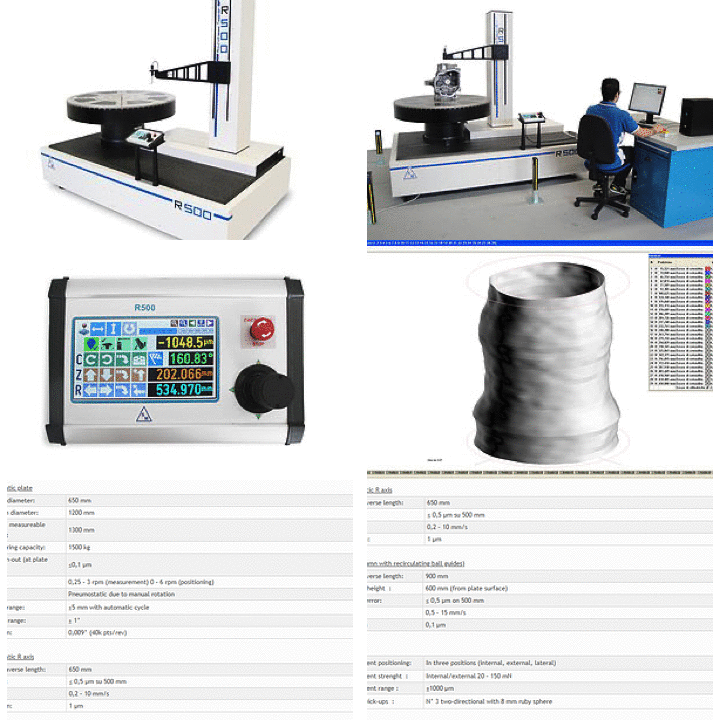
R500 roundness tester is located at the top of machines for the characterization of revolution surfaces in the world panorama for what concerns the maximum dimensions of the object that can be measured; born from the thirty year experience that SM has in this field, it has been designed to measure bulky and heavy pieces, maintaining high accuracies.
R500 features 3 metrological axes, pneumostatically supported, for measurement and positioning, which ensure fluent movements without frictions and remarkable sturdiness of the entire system.
The flagship application of R500 is the characterization of bulky particulars in the energy sector (turbines, compressors, bearings) where all the essential characteristics for the final quality of the product must be determined.
The motorized plate allows the automatic centering of the piece, executed with a procedure inside the Circom software.
SWCircom
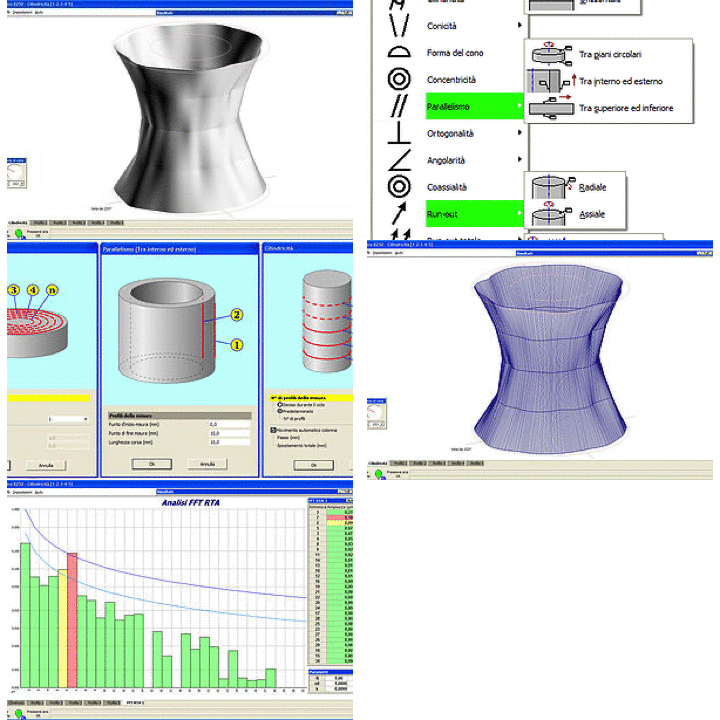
CIRCOM software is a program developed internally in order to characterize surfaces generated by flat rotation and relative geometric tolerances, such as: roundness, concentricity, planarity, coaxiality.
Circom software is installed on all roundness testers manufactured and also on the retrofits carried out on machinery built by other manufacturers, which are updated in terms of electronics and software. The program is extremely flexible since it is able to manage the simplest roundness testers with a single controlled axis, up to the most complex ones equipped with three motorized measurement axes (plate C, column Z and arm R).
The calculated parameters are: roundness, planarity, linearity, cylindricity, conicity, cone shape, concentricity, parallelism, orthogonality, angularity, run-out, total run out, thickness variation, diameter; it is also possible to analyse harmonics through FFT algorithm on roundness and planarity measures.
Gaps can be calculated, thus part of the acquired data can be automatically or manually eliminated. Circom software works with metric and English units.
There are two types of filter inside the software; for polar measurements, filters based on harmonics are used, which are: 1÷15, 1÷50, 1÷150, 1÷500 and 15÷500 ripples/revolution. While for linearity measurements, the filters used are the following: 0.25 mm , 0.8 mm , 2.5 mm and 8 mm. The two filters can be implemented through 2CR filter or the most modern Gaussiano filter
All reference calculation methods are available: for circumference LSC, MZC, MIC and MCC. For plane: LSP, MZP, MIP and MSP. For straight line: LSL, MZL, MIL and MSL.
For planarity and parallelism, it is possible to view the results in plan view and also in 3D.
For cylindricity, various display methods can be chosen: plan view, 3D with only profiles, cage, or shaded solid. All 3D views can be rotated as required.
A guided procedure allows the operator to centre and level the piece being measured.
The standard measuring cycles are directly displayed on the video. With these cycles, the piece positioning and profile acquisition phases are already set-up and the operator just needs to confirm to go to the following phase and quickly obtain the results.
For checks in series or to perform more complex calculations, it is possible to create programmable measurement cycles in order to simplify and speed up use.
